 Bring magic into your life
Now that you have harvested your first flush, the fun is just about to begin! Your mycelium cake can be rehydrated and can provide another 2-4 flushes, depending on its condition. There are several ways to rehydrate and deliver the proper nutrients for your cake, and we have our approach. We prefer to inject our cakes with water or nutrient water to rehydrate them. The injections are done with a marinade syringe (30 or 60cc) with a large metal needle. This keeps the mycelium healthier for longer and avoids spreading contamination throughout the cake. After a few flushes, at some stage, your cake will either contaminate, dry out, or otherwise stop producing mushrooms. When this happens, you can bury the cake in your garden or add it to a compost pile if you have one.
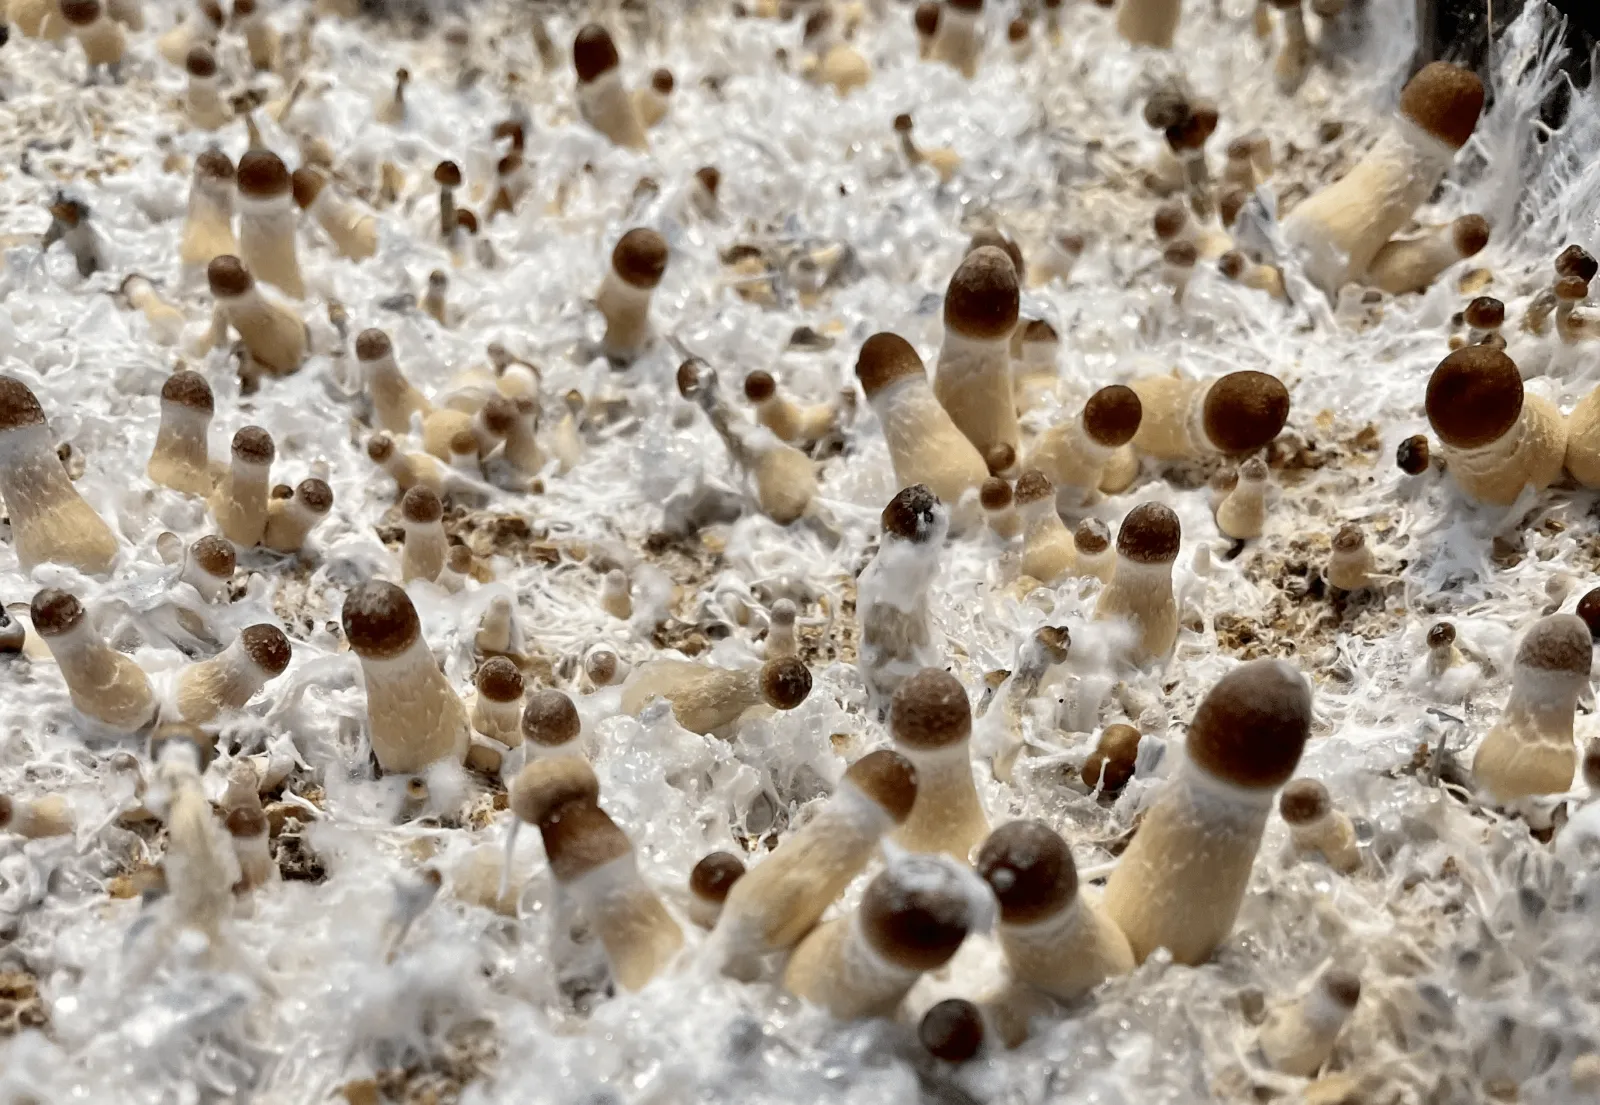
Managing Additional Magic Mushroom Flushes
- When injecting your cake, try to create as little damage to it as possible.
- Don't insert the needle too deep into the cake, in order to avoid piercing the plastic lining at the bottom of the tub.
- There should always be lots of tiny droplets of water on the insides of the tub, to maintain correct humidity.
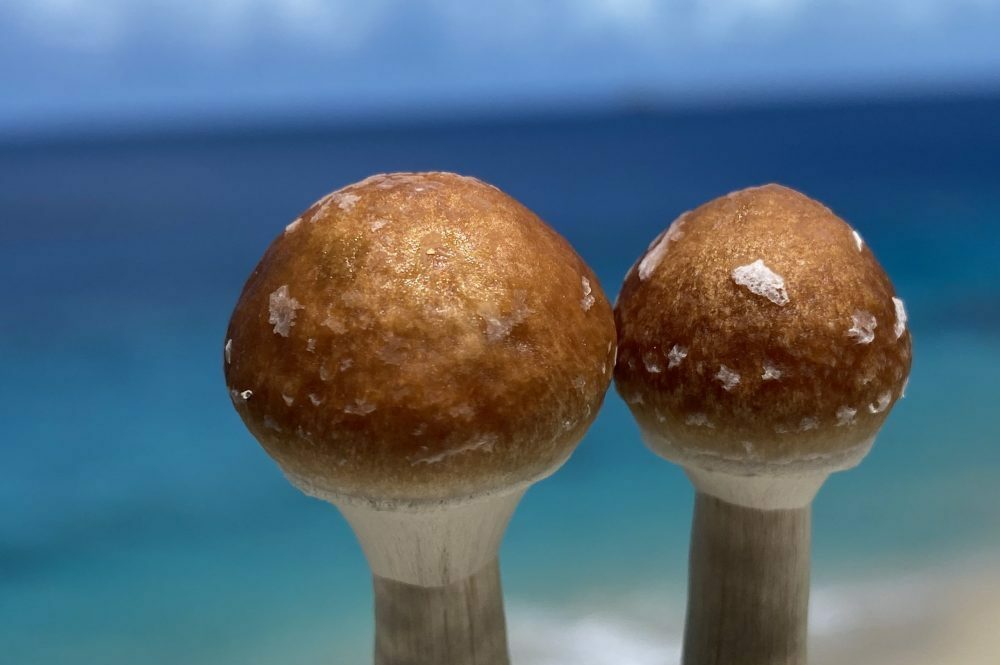
Video Tutorial : Rehydrating your Mycelium Cake
The video markers above 👆🏼correspond to the the various Steps in this Unit. Click on them to skip to a Step.
Maintaining Good Fruiting Conditions Between the flushes, as the monotub dries out, you need to maintain humidity levels not only inside the cake but also outside of it. You need to ensure that the insides of the tub and lid are covered in tiny droplets to maintain humidity levels. You can do this by gently spraying the inside of the tub with a fine mist water spray, as needed.
Prepare Cake and Non Chlorinated Dr MYC Liquid for Rehydration
Prepare your cake by verifying once more that there are no remaining mushrooms from the previous flush. In a jar, mix 1 gram of Dr. MYC with 1 liter of non-chlorinated water. Draw some of this liquid into a marinade syringe. Now take a look at your cake and imagine you need to divide it evenly between 12 people: 4 rows across and 3 rows down (see image to the right). Inject the middle of each "piece of cake" so that you are distributing the Dr. MYC mixture as evenly as possible throughout the cake. Every time you inject, push the needle only halfway in so that you are injecting the liquid into the center of the cake and not at the bottom, where it will just pool. Inject the liquid slowly until a few drops start to pool on the surface around the needle (you can gently absorb them with a paper towel). These pooling droplets are your indication that this part of your cake has absorbed as much liquid as it can, and it's time to move on to the next injection point.
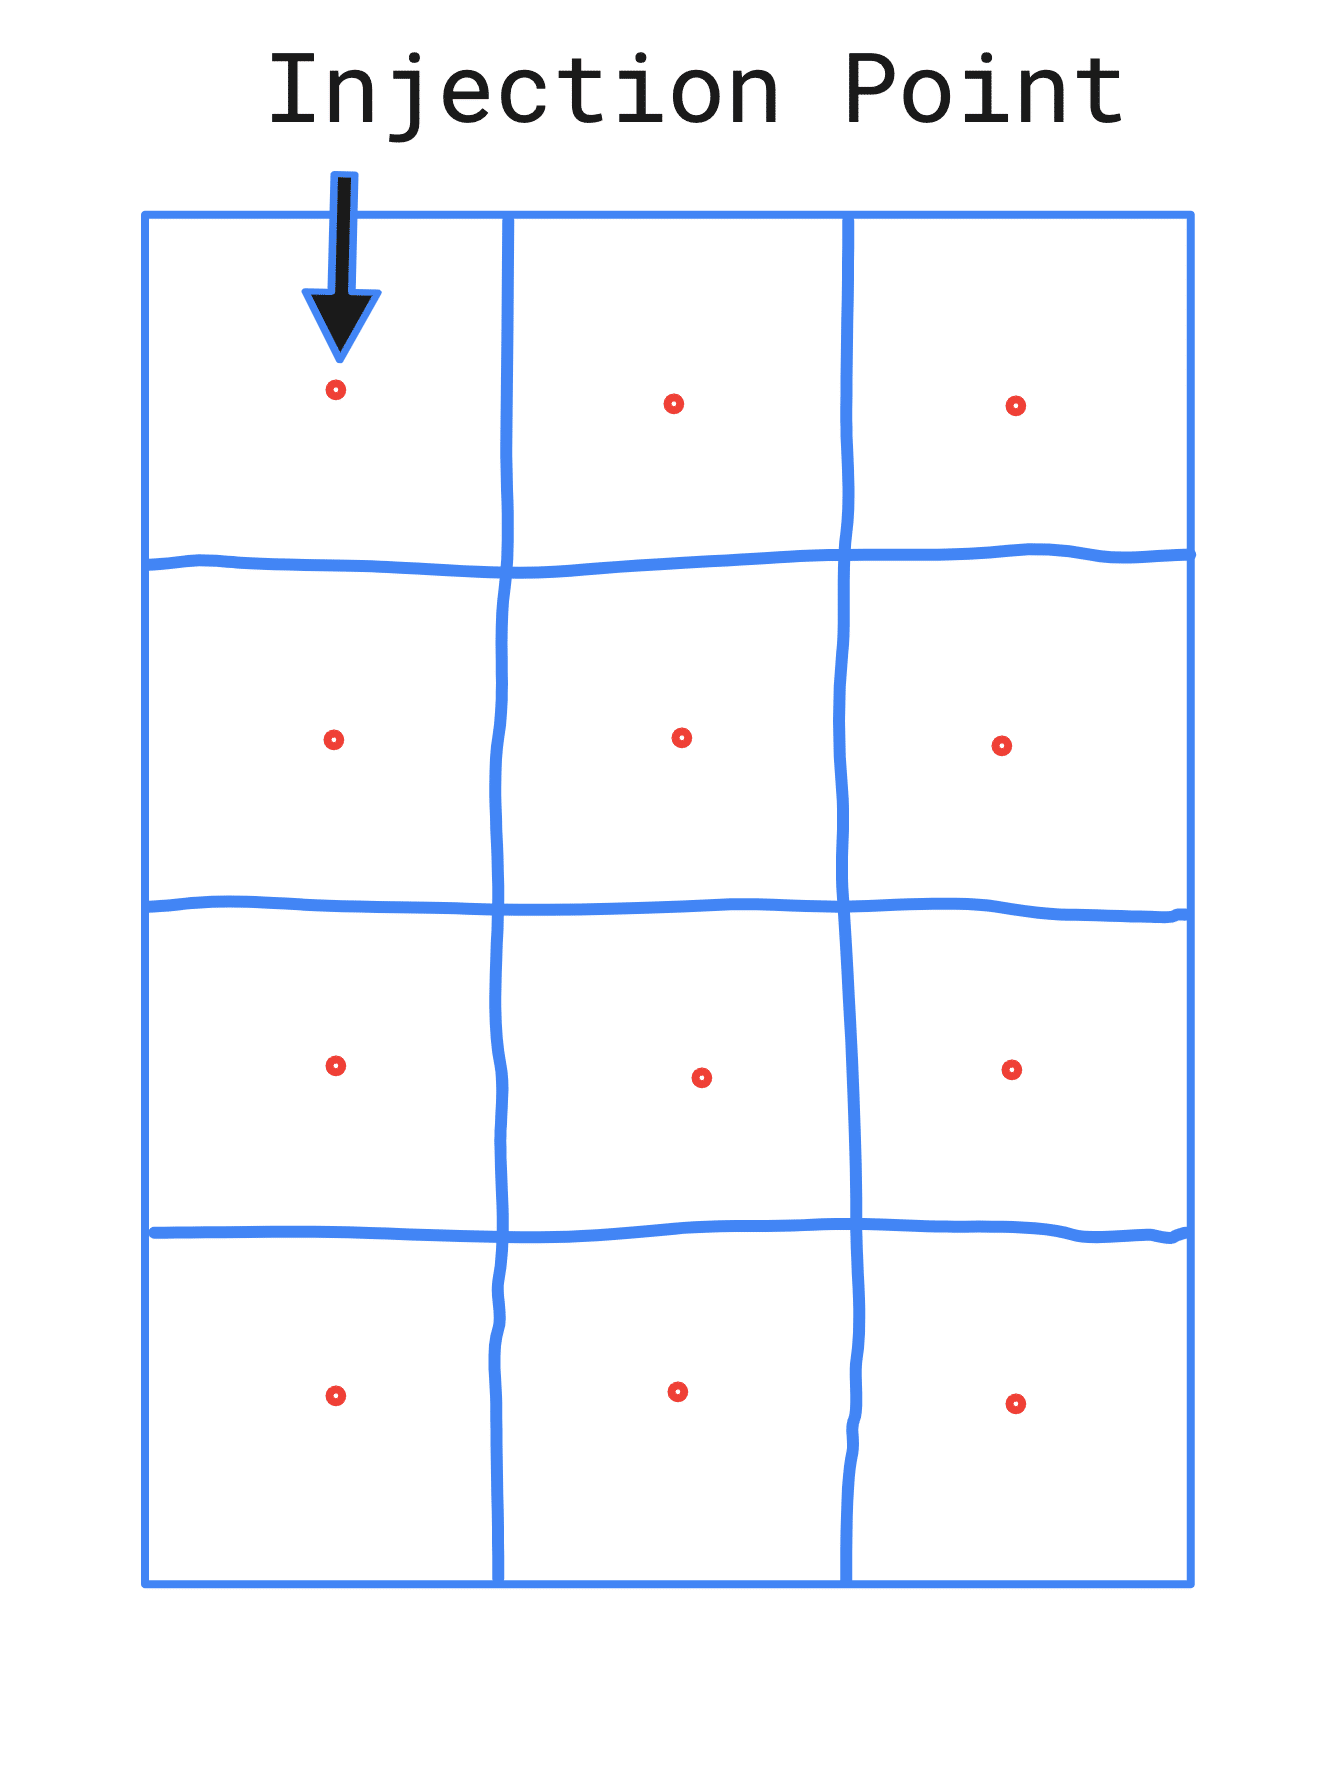
Inject Dr MYC Liquid Evenly Throughout the Cake
Repeat the injection process for all the injection points to rehydrate your mycelium cake. You can expect to use up to half a liter of Dr. Myc liquid for a 32-40 quart tub. Use the fine mist bottle to spray water mist on the inside of the lid and tub, as well as the surface of the cake, to help bring up the humidity levels in the monotub. Cover the monotub and put it back in its growing area. In the next few days, you should see another wave of mushroom pins rear their beautiful little heads. Check the monotub on a daily basis. Mist more if the sides of the tub dry out. There should always be water droplets on the sides of the tub as an indication of proper humidity levels.
Repeat Process for Additional Flushes
Repeat the process of rehydration for subsequent flushes (usually 2-4). Depending on the state of your mycelium cake, you might be able to squeeze out one last flush by flipping the cake over and allowing the underside to pin - providing that it's not contaminated. If it is, it's time to send your cake to cake-heaven in your compost pile or bury it in your backyard. There's a good chance you'll see some mushrooms growing outside.
Next Unit: You're done cultivating! 🥳 Now you use your fruits to make yummy mushroom edibles - from low dose magic honey, to a satisfying magic mushroom tea recipe. Bon appetite!